Quickstart
Learn how to create an API key and get to building!
👋 New to Livepeer Studio? Get access to for free here.
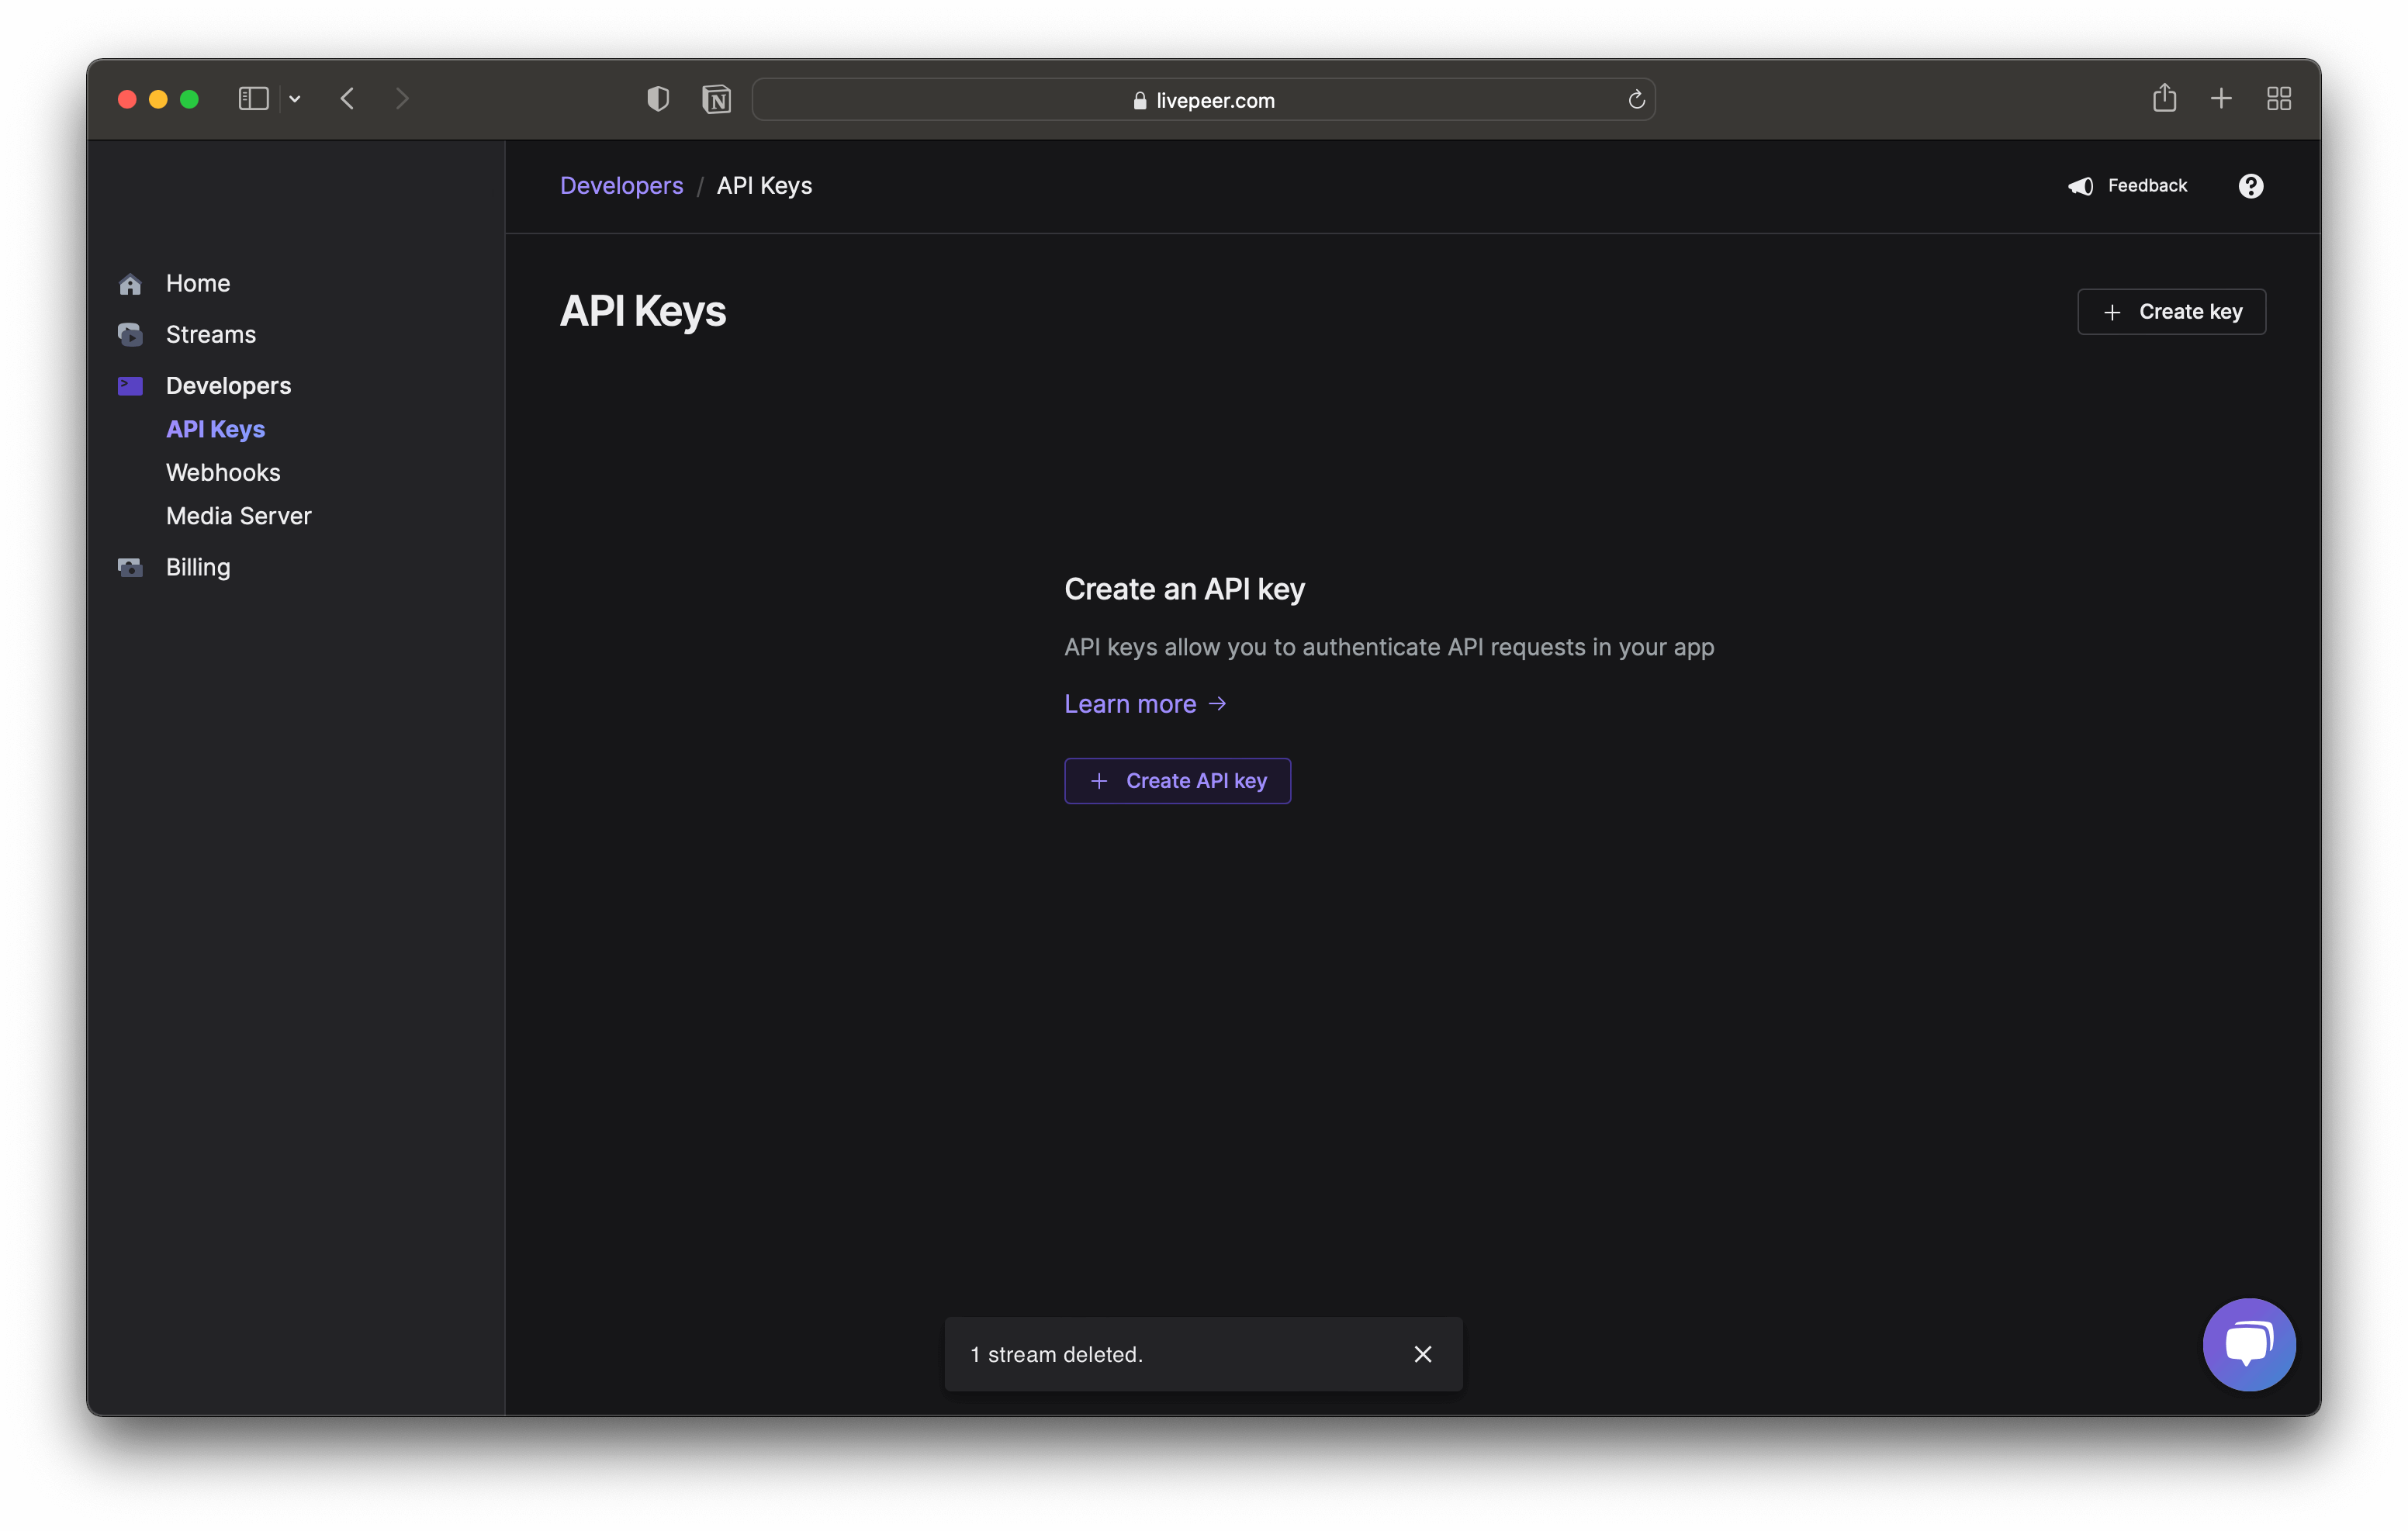
Steps to get started with Livepeer Studio
This guide assumes you already have a Livepeer Studio account and access to our Dashboard.
1. Create a Livepeer Studio API key
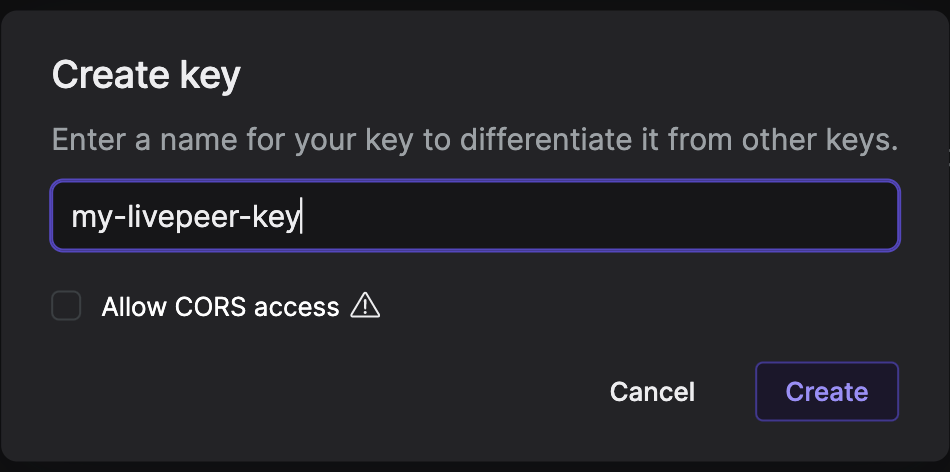
Step 1: Click Create API Key. A dialogue should appear.
Step 2: In the dialogue field, enter a name for your API key.
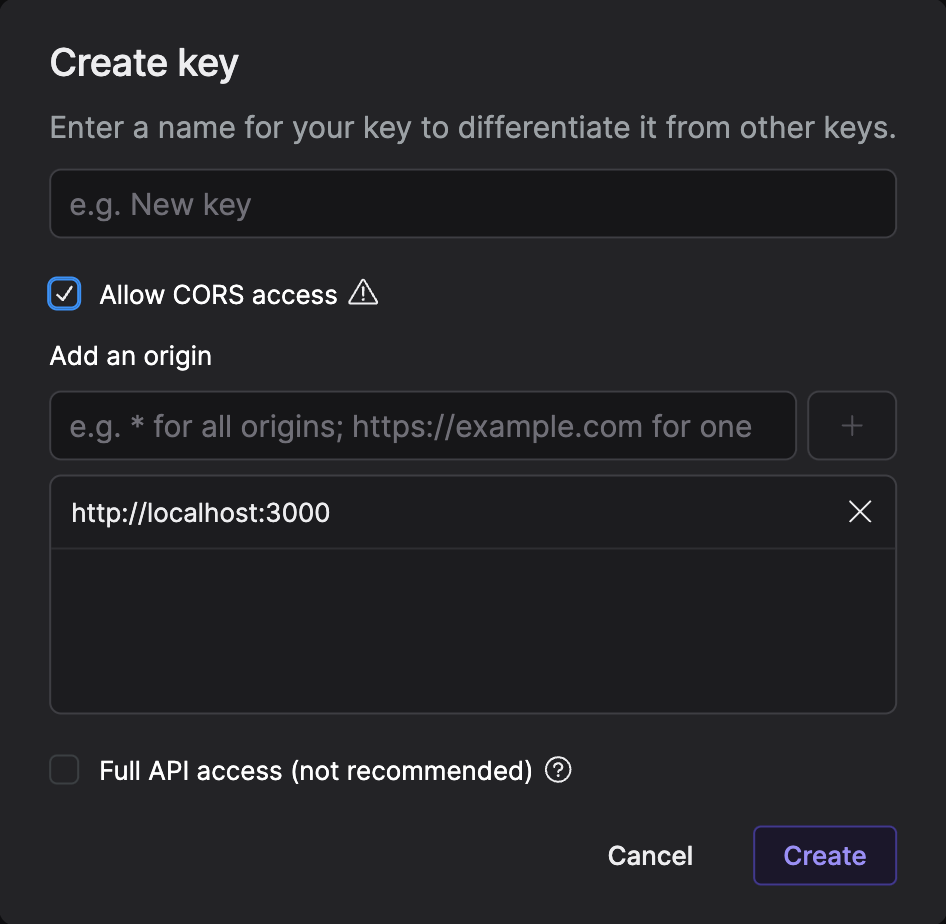
Step 3: Enable CORS [Optional]
If you are developing a frontend application and want to get started quickly with the API, you can create an API key with CORS access enabled. API keys created with this option can be used from the browser from any origin for which it is configured.
Step 4: Click Create.
Note: Livepeer Studio currently allows you to reveal the secret of any existing API key. However, this behavior may change in the future. Make sure to persist the API key safely.
You will always be able to delete an API key and create a new one as necessary.
Usage
To use an API key, you can simply add an Authorization header to your request
with theBearer scheme and the API key as the value.
For example:
curl -X GET \
  -H 'Authorization: Bearer {api_key}'
  https://livepeer.studio/api/user/me
2. Start Building
Don't know where to start? Check out these guides to get more familiar with Livepeer development:
Once you complete this tutorial, let us know how your experience was or if you have any feedback by tagging us on Twitter @livepeerstudio!